How to configure Keycloak for access for AidboxUI
Create a realm
-
Click on the dropdown in the top-left corner where it says
Master, then click onCreate Realm\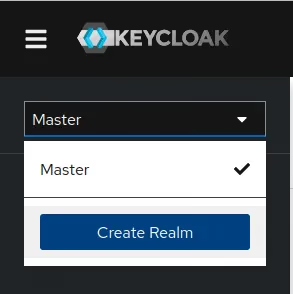
-
Pul the name of your realm to the
Realm nameinput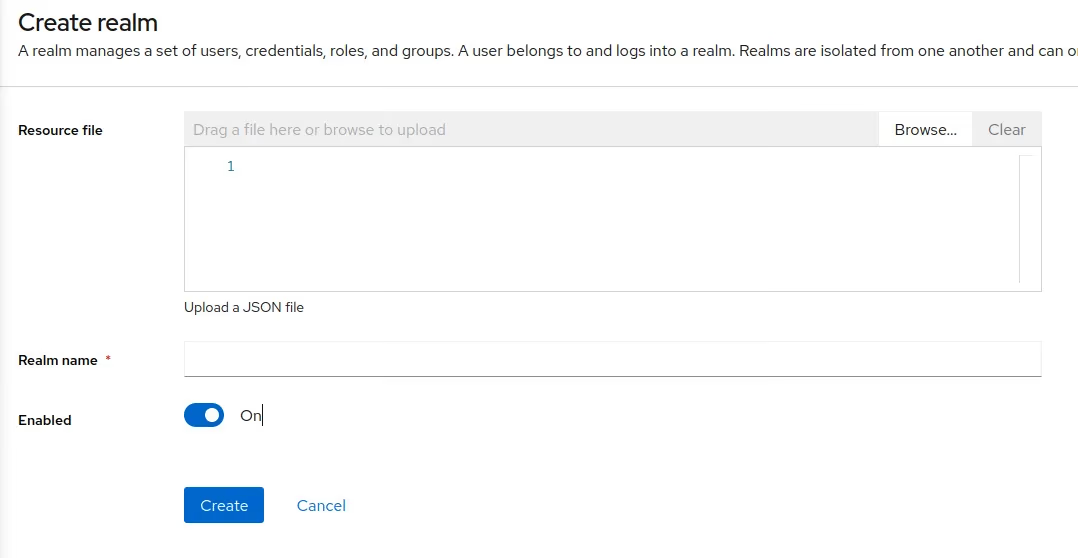
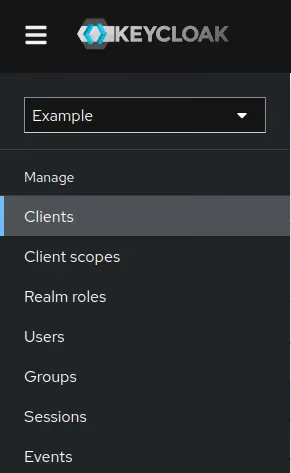
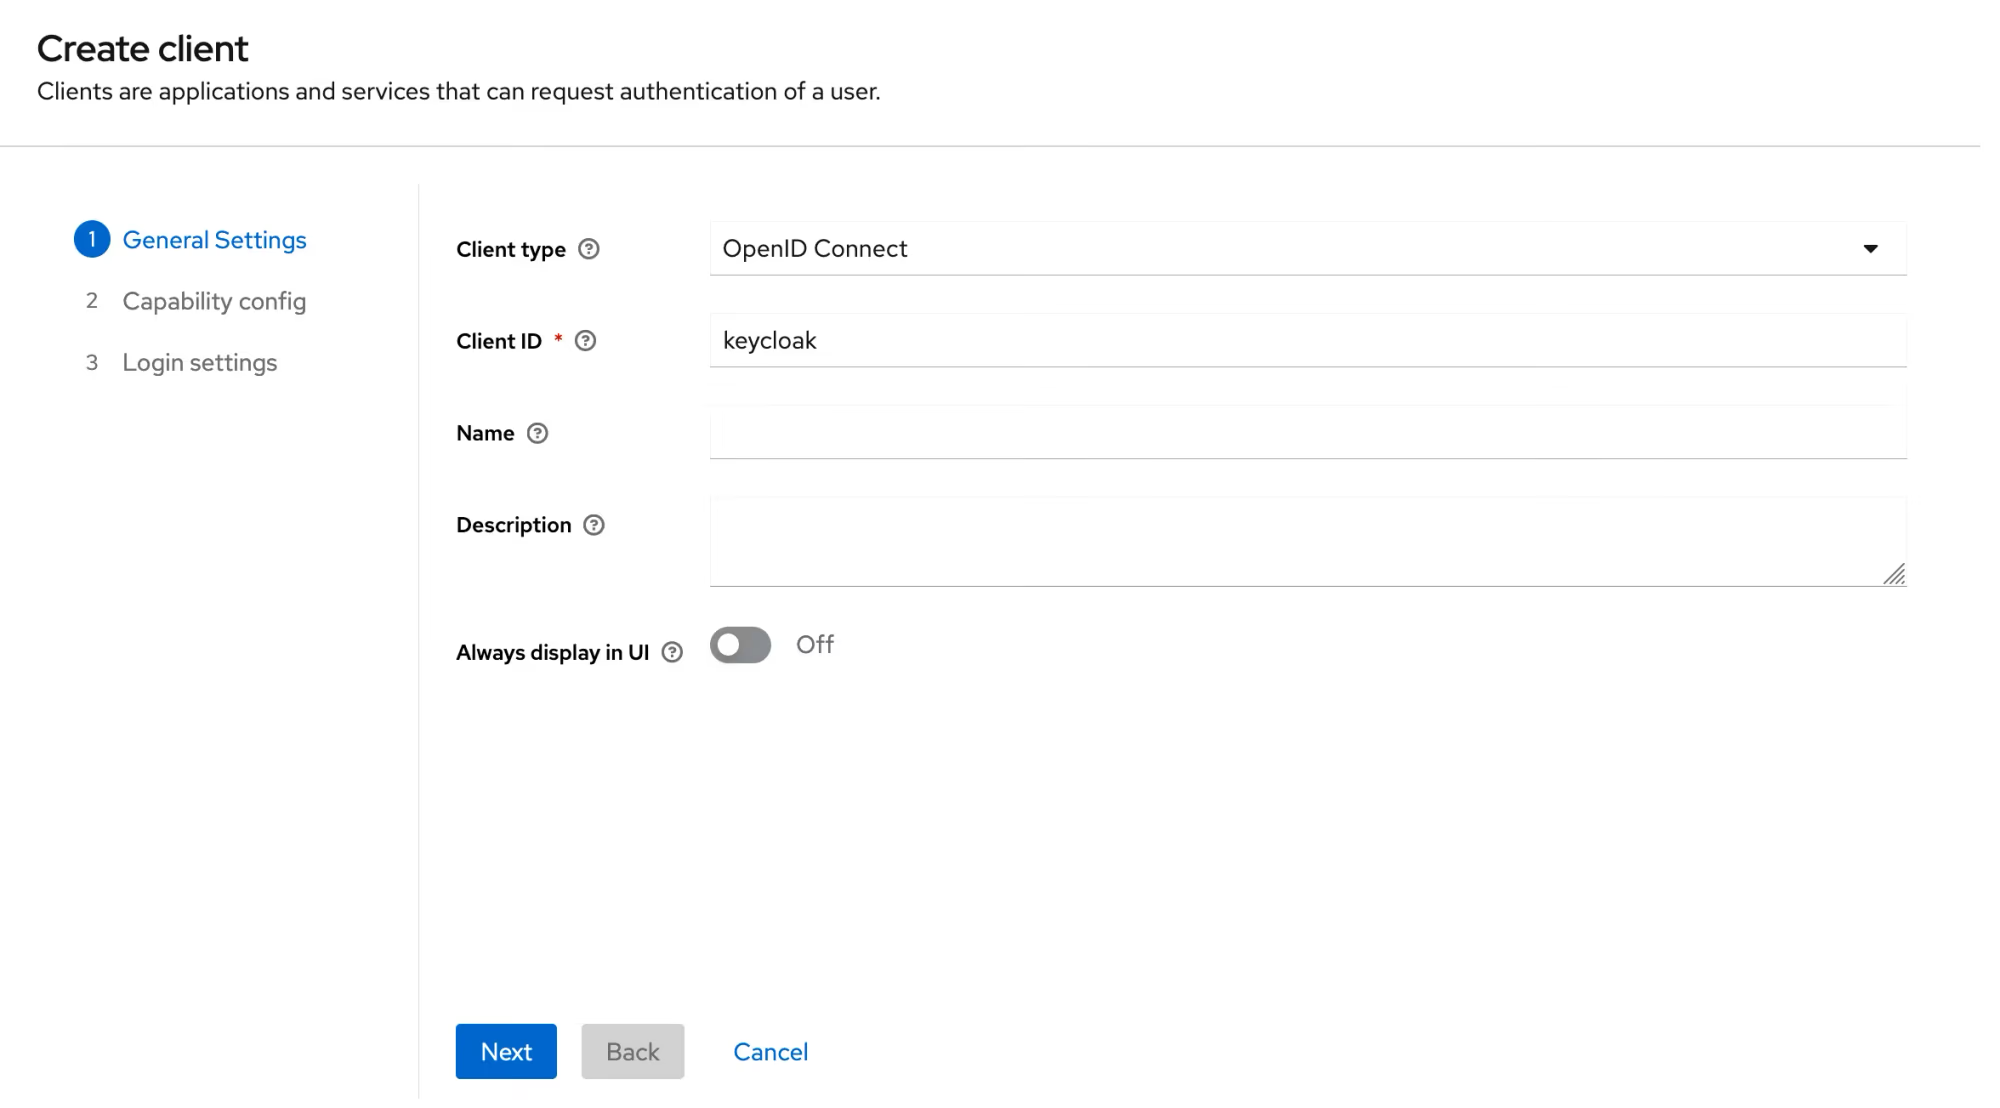
Create a client
- Click the
Clientsmenu item in the left sidebar
-
Then click the
Create clientbutton\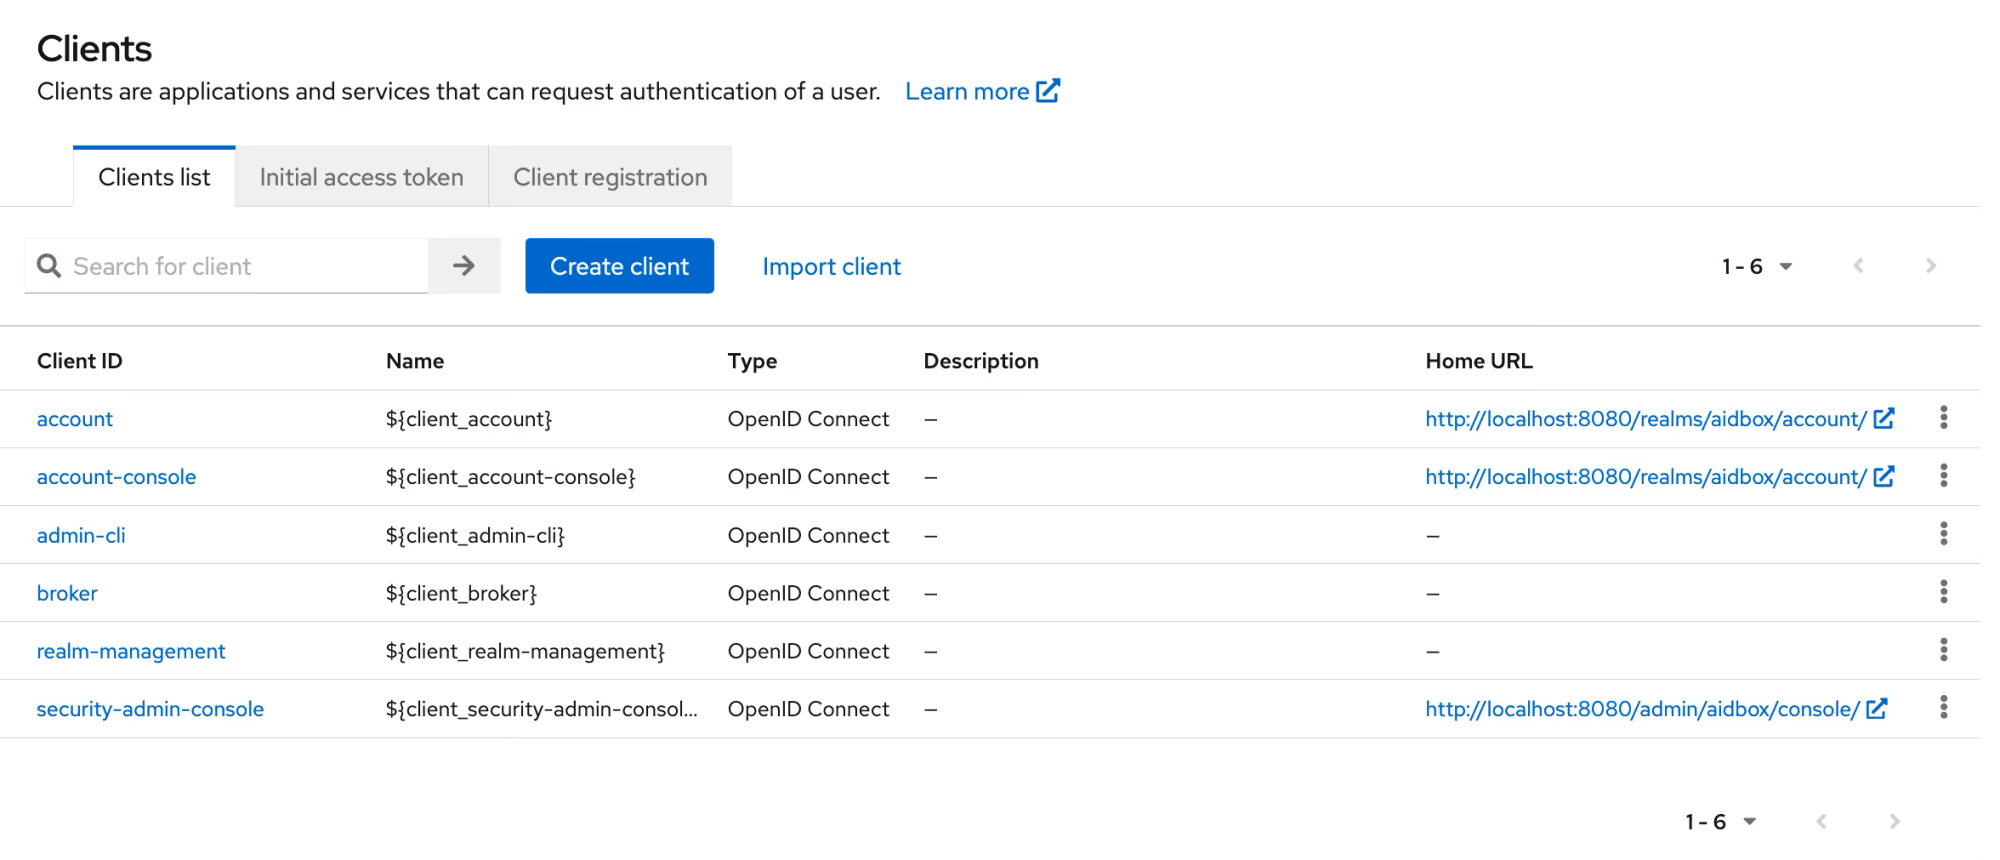
-
Enter the client data\
-
Check the
Client authenticationcheckbox\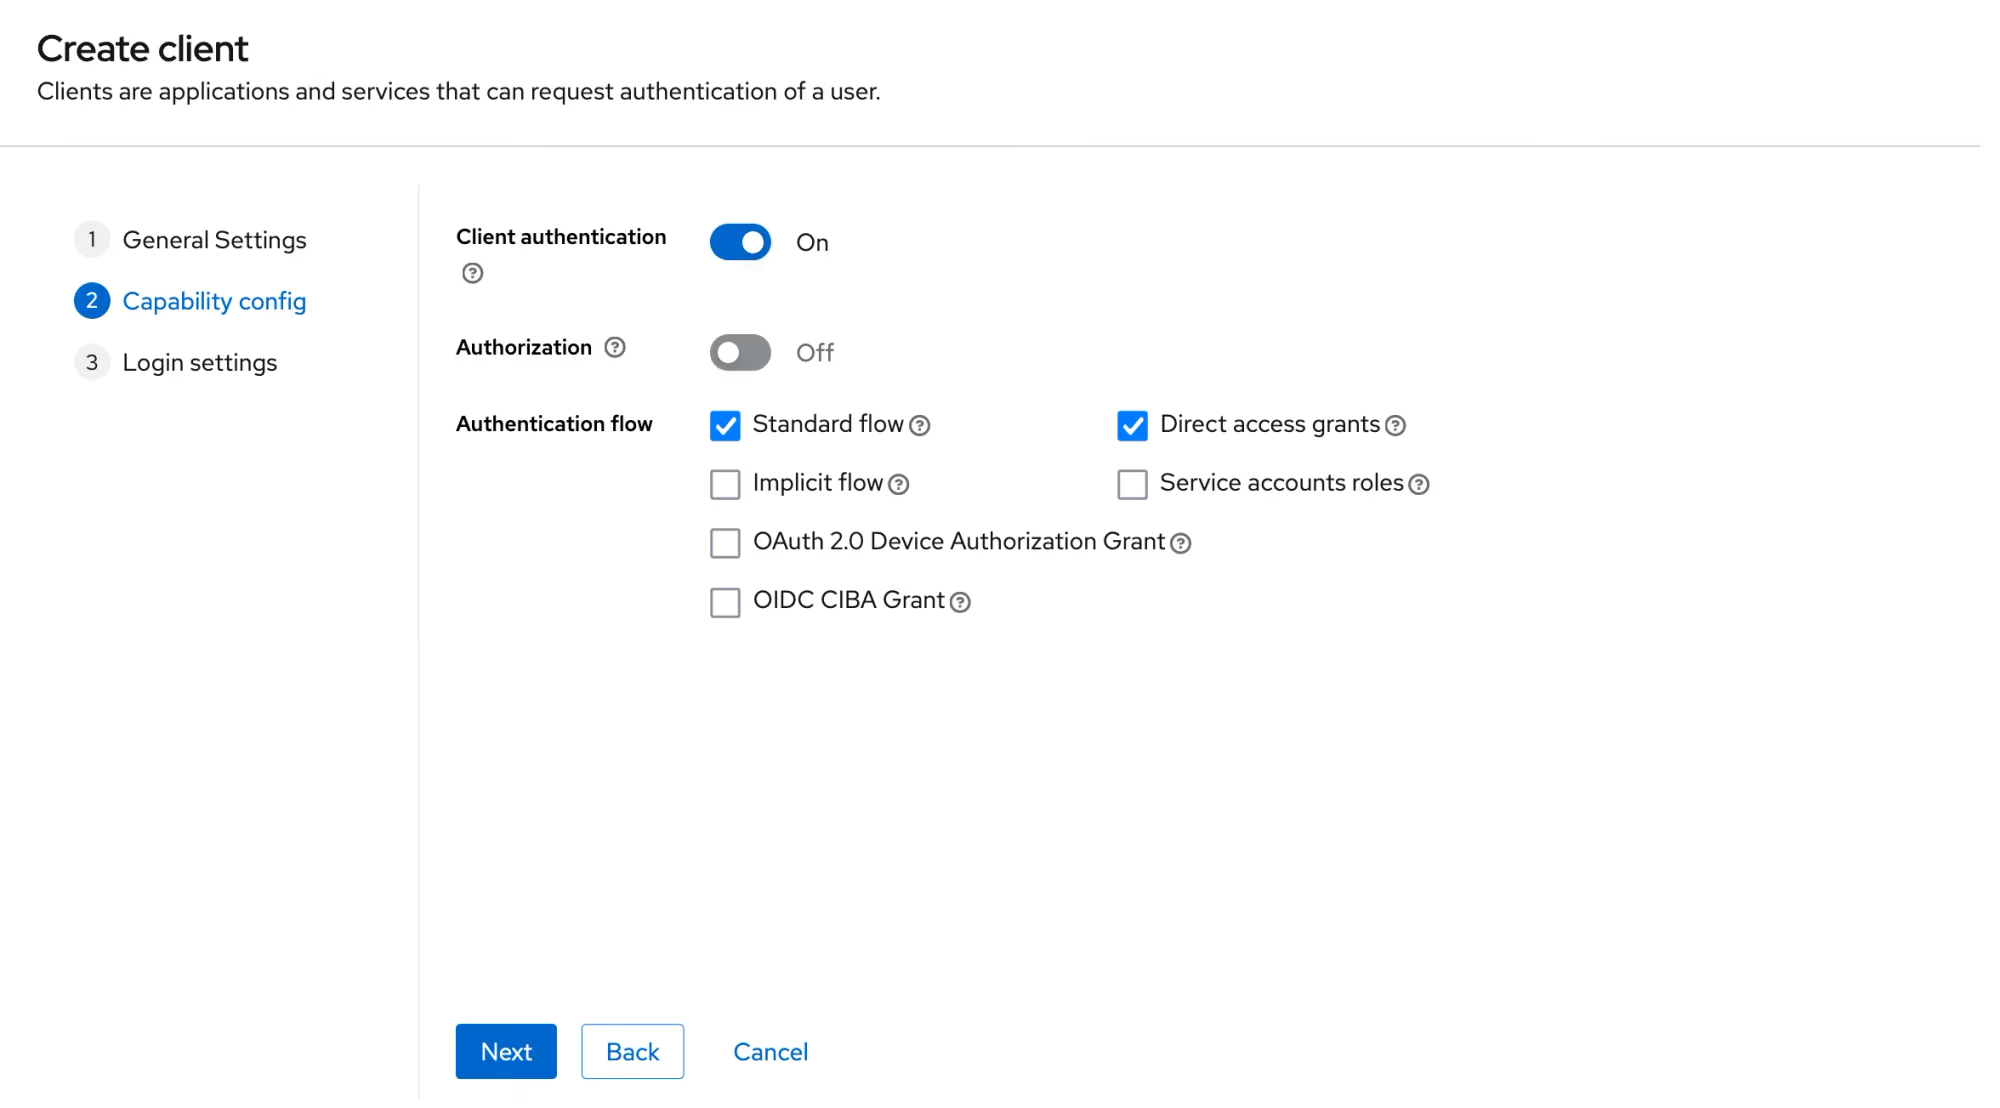
-
Add
<aidbox-url>/auth/callback/keycloaktoValid redirect URIsfield.\
Create IdentityProvider in Aidbox
- Open REST console in AidboxUI and create IdentityProvider resource
POST /IdentityProvider
scopes:
- profile
- openid
system: keycloak
authorize_endpoint: <keycloak-url>/realms/<your-realm>/protocol/openid-connect/auth
token_endpoint: <keycloak-url>/realms/<your-realm>/protocol/openid-connect/token
userinfo_endpoint: <keycloak-url>/realms/<your-realm>/protocol/openid-connect/userinfo
userinfo-source: id-token | userinfo-endpoint
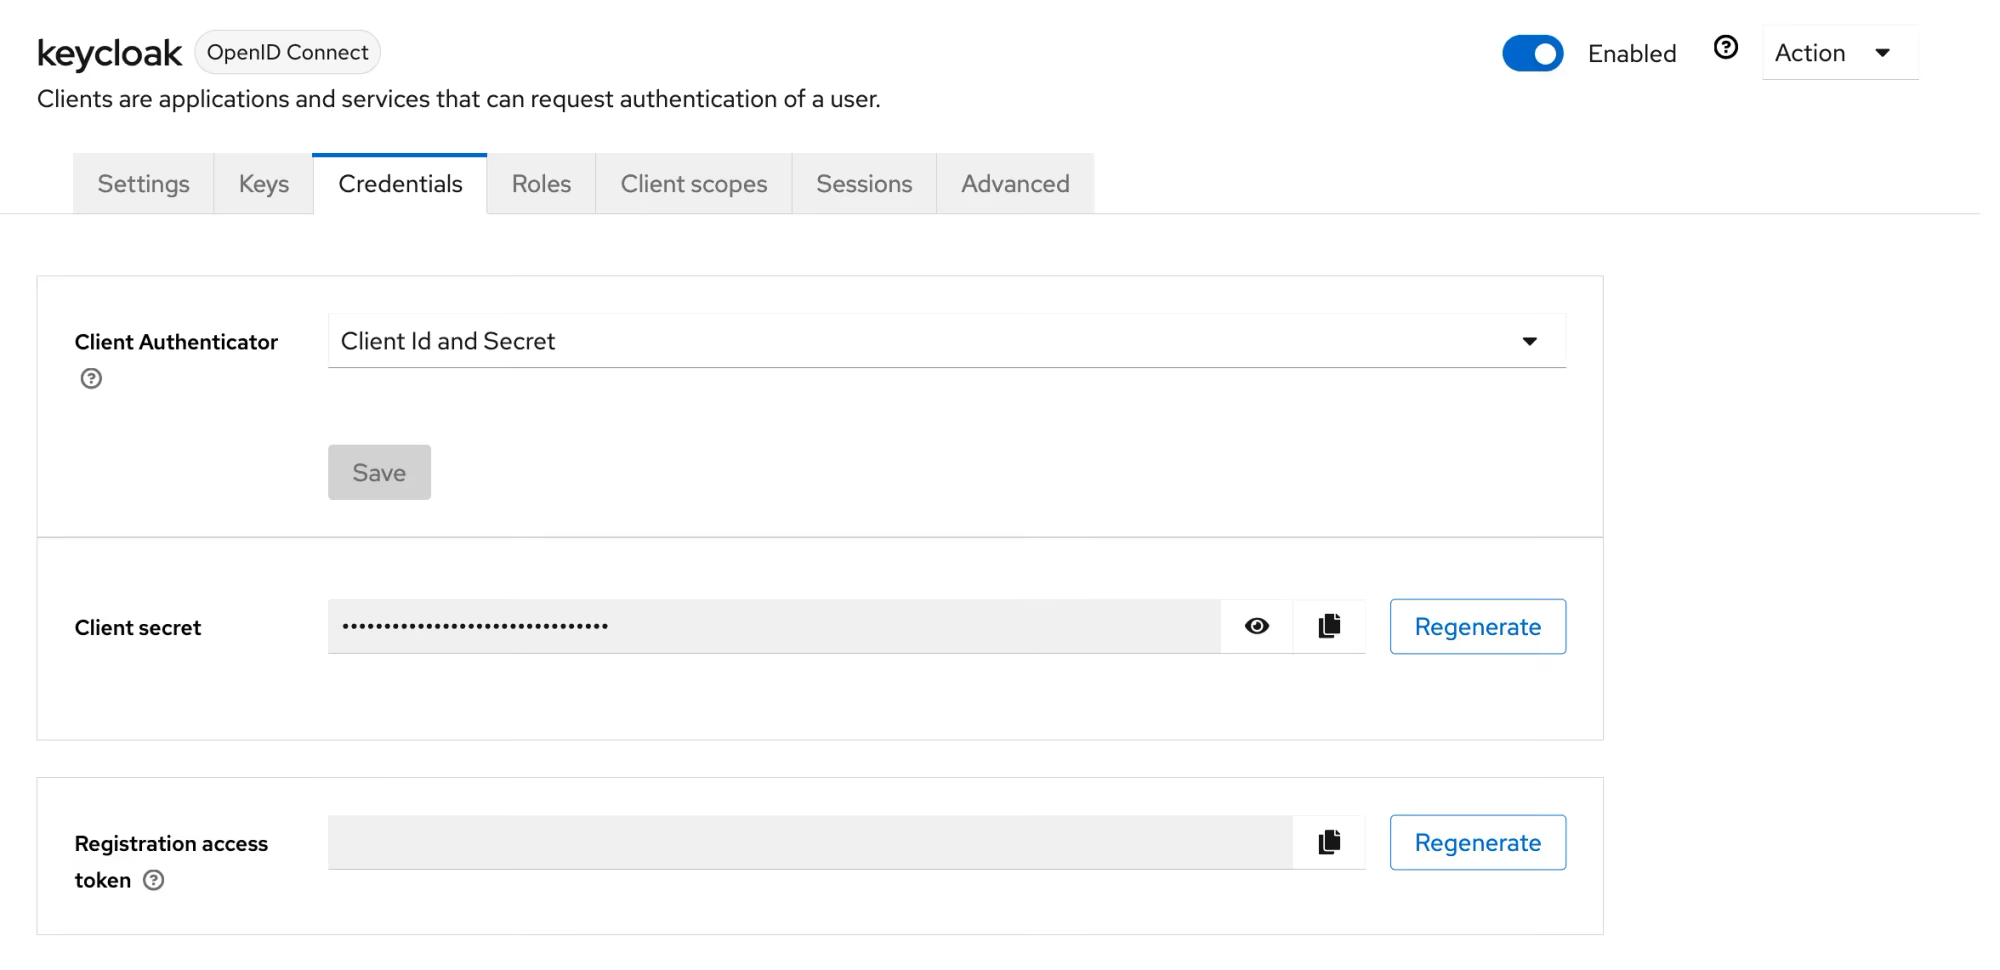
client:
id: <your client id>
secret: <your client secret>
resourceType: IdentityProvider
title: Keycloak
active: true
id: keycloak
You can find client secret on Clients details page under Credentials tab
Login into Aidbox
Go to your Aidbox base URL, you will be redirected to the login page - you should see "Log in with Keycloak" button. Press this button and log in with Keycloak user into aidbox. This user will be logged into Aidbox Console, but without any permissions. Read more in Access Control Section about permissions.