AidboxTopicSubscription RabbitMQ tutorial
Aidbox version compatibility
| Aidbox | Connector JAR | Profile URL |
|---|---|---|
| ≥ 2604 | topic-destination-amqp-2604.0.jar | http://health-samurai.io/fhir/core/StructureDefinition/aidboxtopicdestination-amqp10AtLeastOnceProfile |
| < 2604 | topic-destination-amqp-2509.4.jar | http://aidbox.app/StructureDefinition/aidboxtopicdestination-amqp-1-0-at-least-once |
Examples below use the ≥ 2604 form. On older Aidbox, swap both the JAR and the meta.profile URL. Redeploy the JAR when crossing the 2604 boundary — older JARs register profiles via a legacy path the new validator no longer honors.
Objectives
- Learn how to integrate AidboxTopicSubscriptions with RabbitMQ using AMQP protocols
Before you begin
- Make sure your Aidbox version is newer than 2504
- Setup the local Aidbox instance using getting started guide
What is RabbitMQ?
RabbitMQ is a reliable and mature messaging broker that implements the Advanced Message Queuing Protocol (AMQP). It provides robust message delivery, routing capabilities, and supports various messaging patterns including publish/subscribe, request/reply, and point-to-point communication.
RabbitMQ natively uses AMQP 0-9-1 protocol and also supports AMQP 1.0 (since RabbitMQ 4.0 without plugins). In Aidbox, you can use both protocol versions, the tutorial uses version 1.0.
Setting up
-
Add rabbitmq service to docker-compose.yaml from getting started guide:
rabbitmq: image: rabbitmq:4-management environment: RABBITMQ_DEFAULT_USER: admin RABBITMQ_DEFAULT_PASS: admin ports: - "5672:5672" # AMQP port - "15672:15672" # Management UI port -
Download .jar AMQP module file from our bucket and place it next to docker-compose.yaml.
curl -O https://storage.googleapis.com/aidbox-modules/topic-destination-amqp/topic-destination-amqp-2604.0.jar -
Add jar module file to Aidbox:
    volumes:
    # module jar to turn on AMQP support
    - ./topic-destination-amqp-2604.0.jar:/topic-destination-amqp-2604.0.jar
Set envs to import it on start:
BOX_MODULE_JAR: "/topic-destination-amqp-2604.0.jar" BOX_MODULE_LOAD: io.healthsamurai.topic-destination.amqp.core -
Start the services.
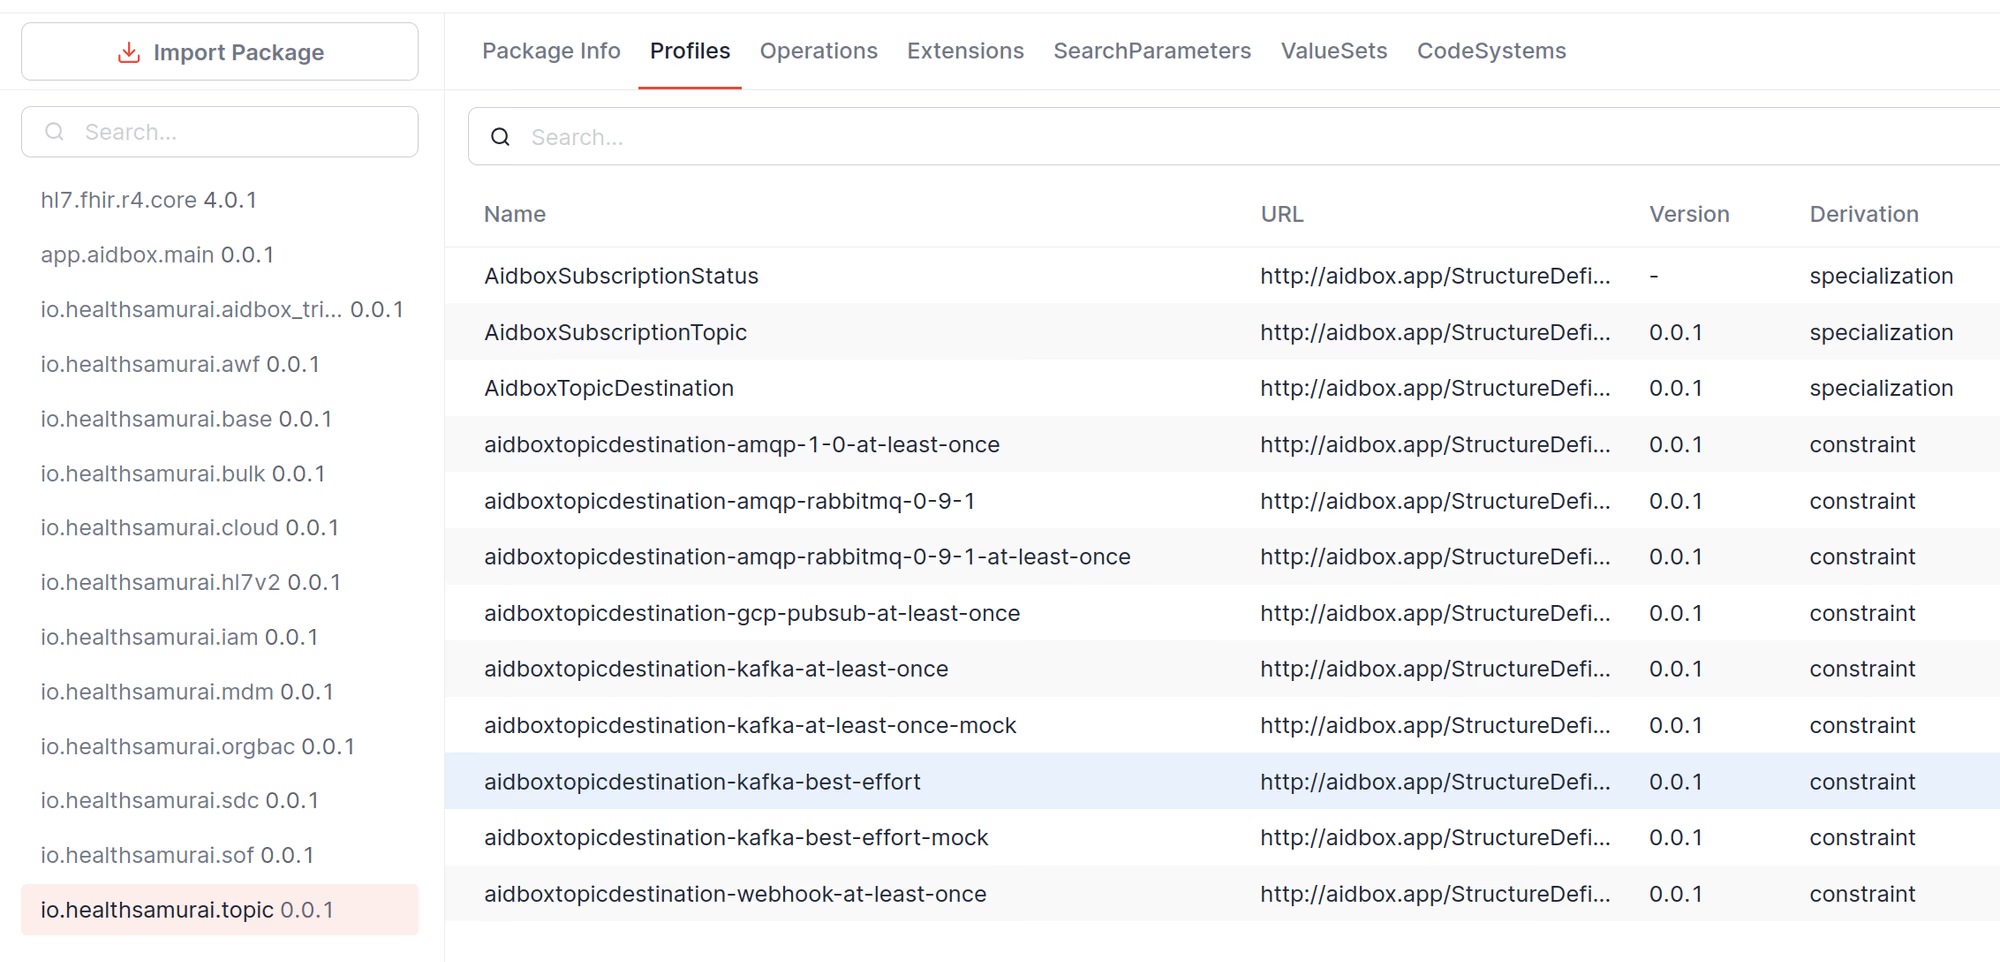
docker compose upNow, in AidboxUI, go to FHIR Packages -> io.healthsamurai.topic and make sure that AMQP profiles are present.
Basic usage with AMQP 1.0
-
Access RabbitMQ Management UI at http://localhost:15672 (login: admin/admin).
-
Create a queue in RabbitMQ Management UI:
- Go to Queues and Streams tab
- Click Add a new queue
- Name:
patient-events - Type: Classic
- Durability: Durable
- Click Add queue
-
Go to AidboxUI and create a topic that triggers if
Patient.nameexists.POST /fhir/AidboxSubscriptionTopic content-type: application/json accept: application/json { "resourceType": "AidboxSubscriptionTopic", "url": "patient-topic", "status": "active", "trigger": [ { "resource": "Patient", "fhirPathCriteria": "name.exists()" } ] } -
Create AidboxTopicDestination with AMQP 1.0 profile.
POST /fhir/AidboxTopicDestination
content-type: application/json
accept: application/json

{
  "id": "rabbitmq-destination",
  "resourceType": "AidboxTopicDestination",
  "meta": {
    "profile": [
      "http://health-samurai.io/fhir/core/StructureDefinition/aidboxtopicdestination-amqp10AtLeastOnceProfile"
    ]
  },
  "kind": "amqp-1-0-at-least-once",
  "topic": "patient-topic",
  "parameter": [
    {
      "name": "host",
      "valueString": "rabbitmq"
    },
    {
      "name": "address",
      "valueString": "/queues/patient-events"
    },
    {
      "name": "username",
      "valueString": "admin"
    },
    {
      "name": "password",
      "valueString": "admin"
    }
  ]
}
Testing the integration
-
Create a patient with a name.
POST /fhir/Patient name: - family: smith -
Check the message in RabbitMQ Management UI(http://localhost:15672):
- Go to Queues tab
- Click on
patient-eventsqueue - You should see 1 message in the queue
- Click "Get messages" to view the content
The message will be base64-encoded and contain:
{
  "topic": "patient-events",
  "value": {
    "resourceType": "Bundle",
    "type": "history",
    "timestamp": "2025-09-23T10:19:32Z",
    "entry": [
      {
        "resource": {
          "resourceType": "AidboxSubscriptionStatus",
          "status": "active",
          "type": "event-notification",
          "notificationEvent": [
            {
              "eventNumber": 1,
              "focus": {
                "reference": "Patient/f1181c9b-09a3-474f-800e-ed4ac6bae444"
              }
            }
          ],
          "topic": "patient-topic",
          "topic-destination": {
            "reference": "AidboxTopicDestination/rabbitmq-destination"
          }
        }
      },
      {
        "request": {
          "method": "POST",
          "url": "/fhir/Patient"
        },
        "fullUrl": "http://localhost:8080/fhir/Patient/f1181c9b-09a3-474f-800e-ed4ac6bae444",
        "resource": {
          "name": [
            {
              "family": "smith"
            }
          ],
          "id": "f1181c9b-09a3-474f-800e-ed4ac6bae444",
          "resourceType": "Patient",
          "meta": {
            "lastUpdated": "2025-09-23T10:19:32.612898Z",
            "versionId": "19",
            "extension": [
              {
                "url": "https://aidbox.app/ex/createdAt",
                "valueInstant": "2025-09-23T10:19:32.612898Z"
              }
            ]
          }
        }
      }
    ]
  }
}
Monitoring
Check the status of your topic destination:
GET /fhir/AidboxTopicDestination/rabbitmq-destination/$status
Response will include metrics:
{
  "resourceType": "Parameters",
  "parameter": [
    {
      "name": "messagesDelivered",
      "valueInteger": 1
    },
    {
      "name": "messagesInProcess",
      "valueInteger": 0
    },
    {
      "name": "messagesQueued",
      "valueInteger": 0
    },
    {
      "name": "messagesDeliveryAttempts",
      "valueInteger": 0
    },
    {
      "name": "status",
      "valueString": "active"
    },
    {
      "name": "startTimestamp",
      "valueString": "2025-05-05T09:54:29Z"
    }
  ]
}
Troubleshooting
Connection issues
If you see connection errors:
- Verify RabbitMQ is running:
docker compose ps - Check RabbitMQ logs:
docker compose logs rabbitmq - Ensure the host parameter matches your RabbitMQ service name or IP
Authentication failures
If you see authentication errors:
- Verify username/password in AidboxTopicDestination parameters
- Check user permissions in RabbitMQ Management UI
- Default Docker setup uses admin/admin
Messages not delivered
If messages aren't appearing in queues:
- Check Topic Destination status:
GET /fhir/AidboxTopicDestination/{id}/$status - Verify queue exists in RabbitMQ
- Check exchange bindings if using exchanges (AMQP 0-9-1 only)
- Ensure subscription topic is active and matches your resource criteria