# How to run Aidbox in GCP Cloud Run
## Objectives
* Run the Aidbox container in the GCP [Cloud Run](https://cloud.google.com/run?hl=en) environment using [Cloud SQL ](https://cloud.google.com/sql?hl=en)as a database.
## Before you begin
* You must have an active Google Cloud account. More information [here](https://cloud.google.com/docs/get-started).
## Create a Managed PostgreSQL Database
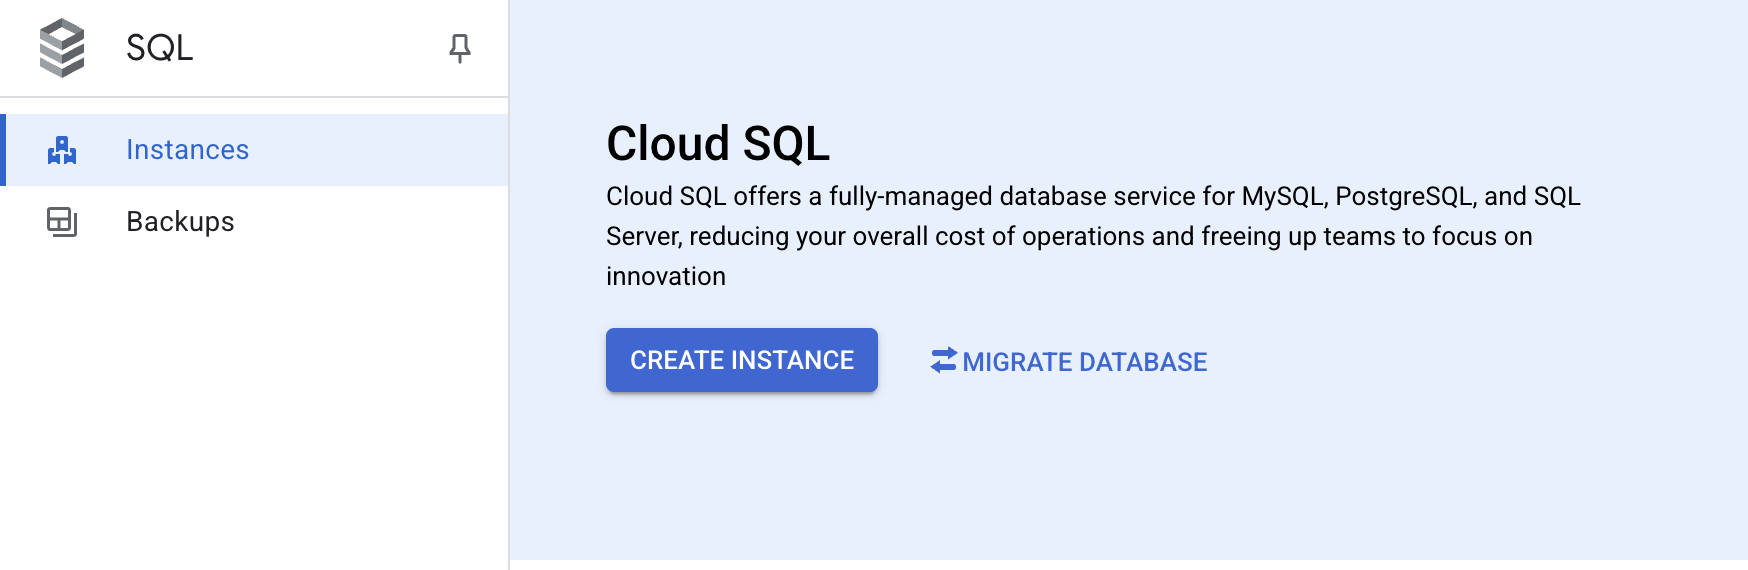
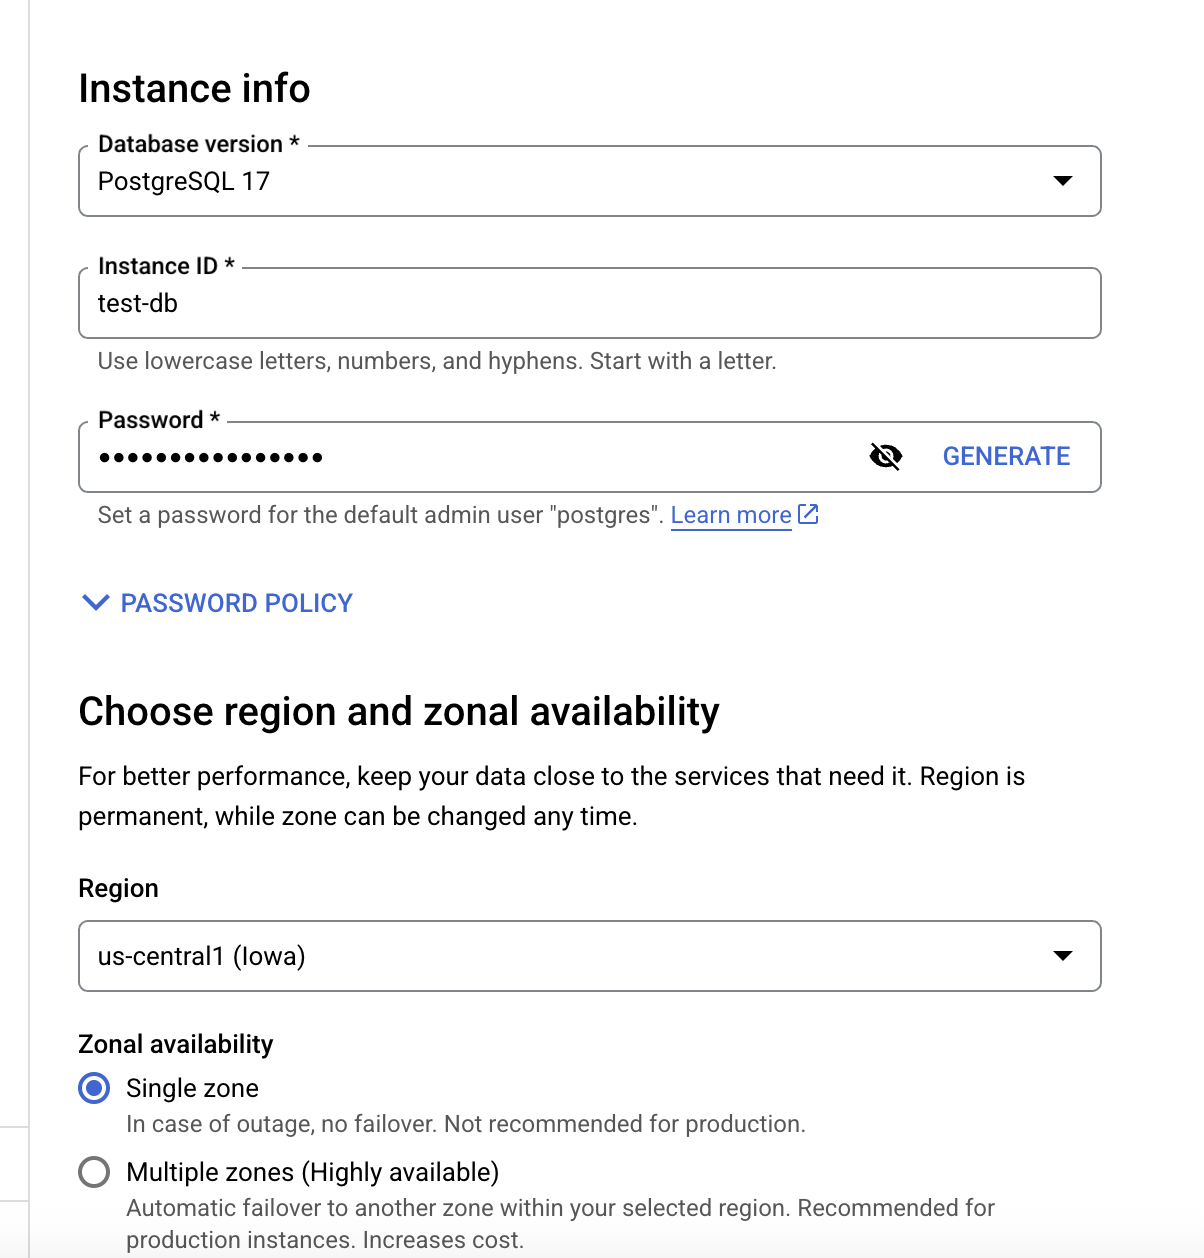
1. Log in to Google Cloud Console, go to SQL Service, and create a new Cloud SQL instance.
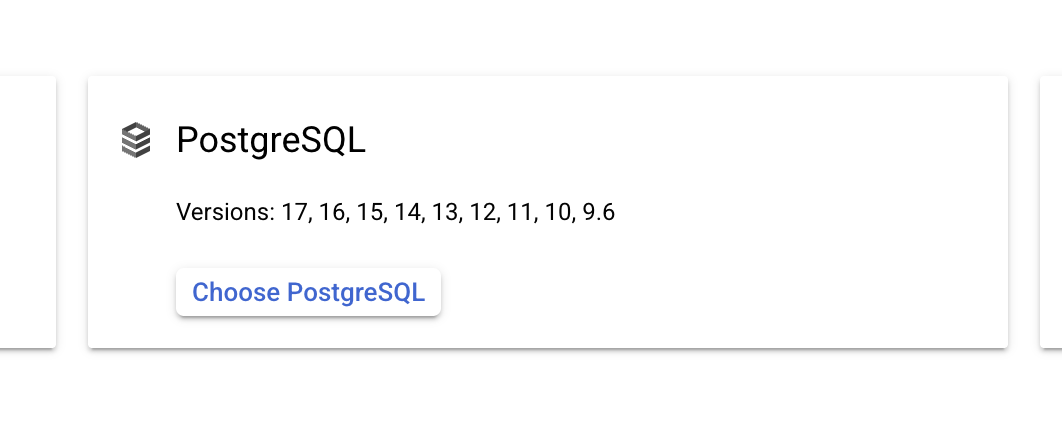
2. Choose PostgreSQL for the database engine
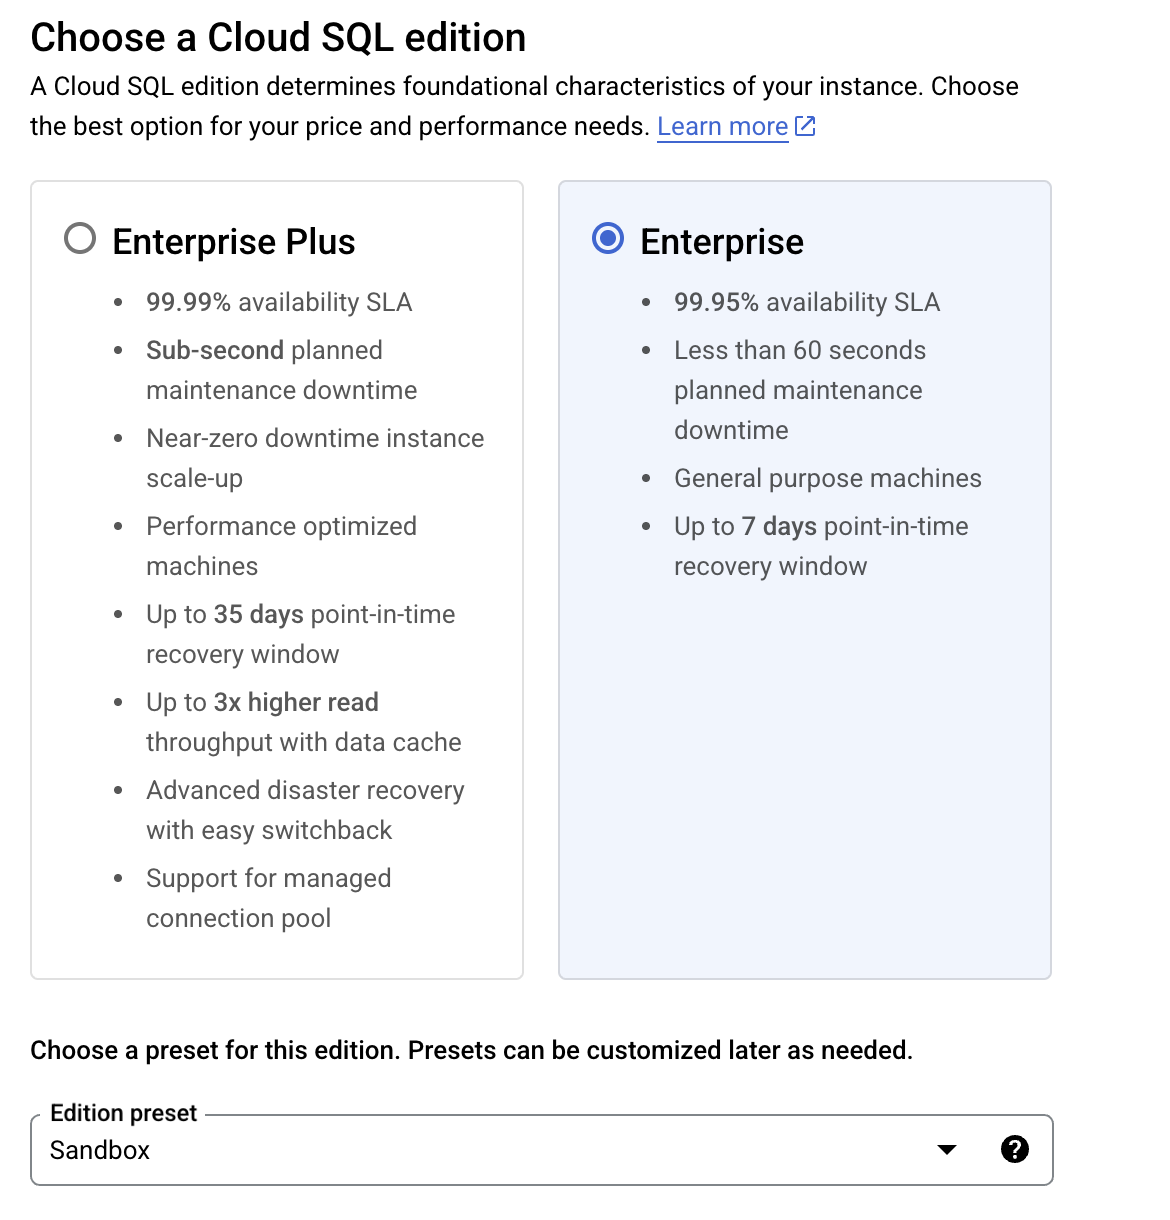
3. Choose Enterprise Cloud SQL Edition and **"Sandbox"** edition preset
4. Enter the required parameters
\
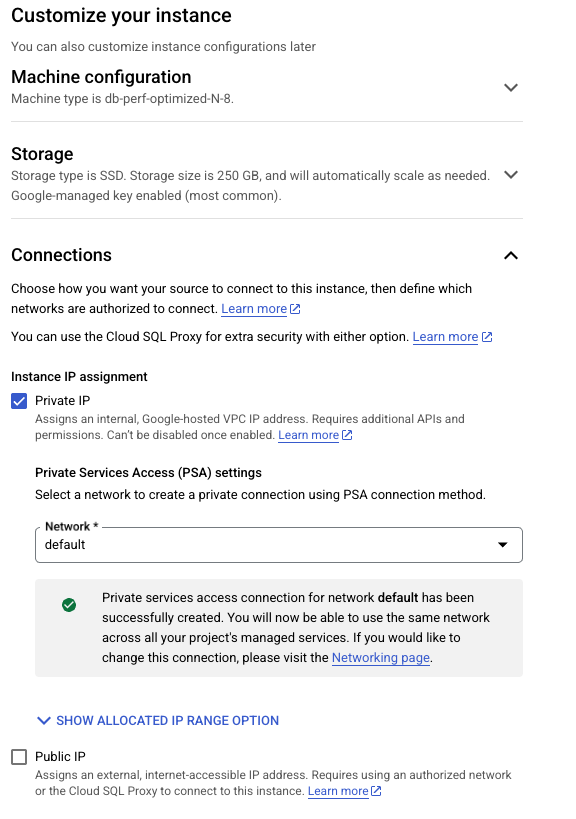
5\. Configure the private IP access to the database instance.
{% hint style="info" %}
Restricting database access at the network level is a recommended security best practice. In this tutorial, we take a simple approach by allowing access from the **default** VPC network and configuring Cloud Run to use the same network for outbound connections. For production environments, we strongly encourage implementing more granular and restrictive network policies tailored to your security needs.
{% endhint %}
In **the "Customize your Instance -> Connections"** section, enable the "**Private IP"** option and disable the **"Public IP"** option.
\
6\. Click the **"Create Instance"** button and wait until the instance is created.
## Create a database and a user for the Aidbox service
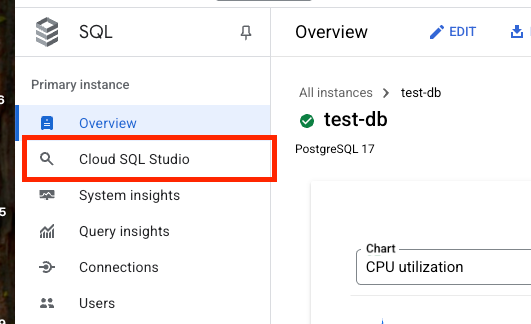
1. Open **Cloud SQL Studio**.
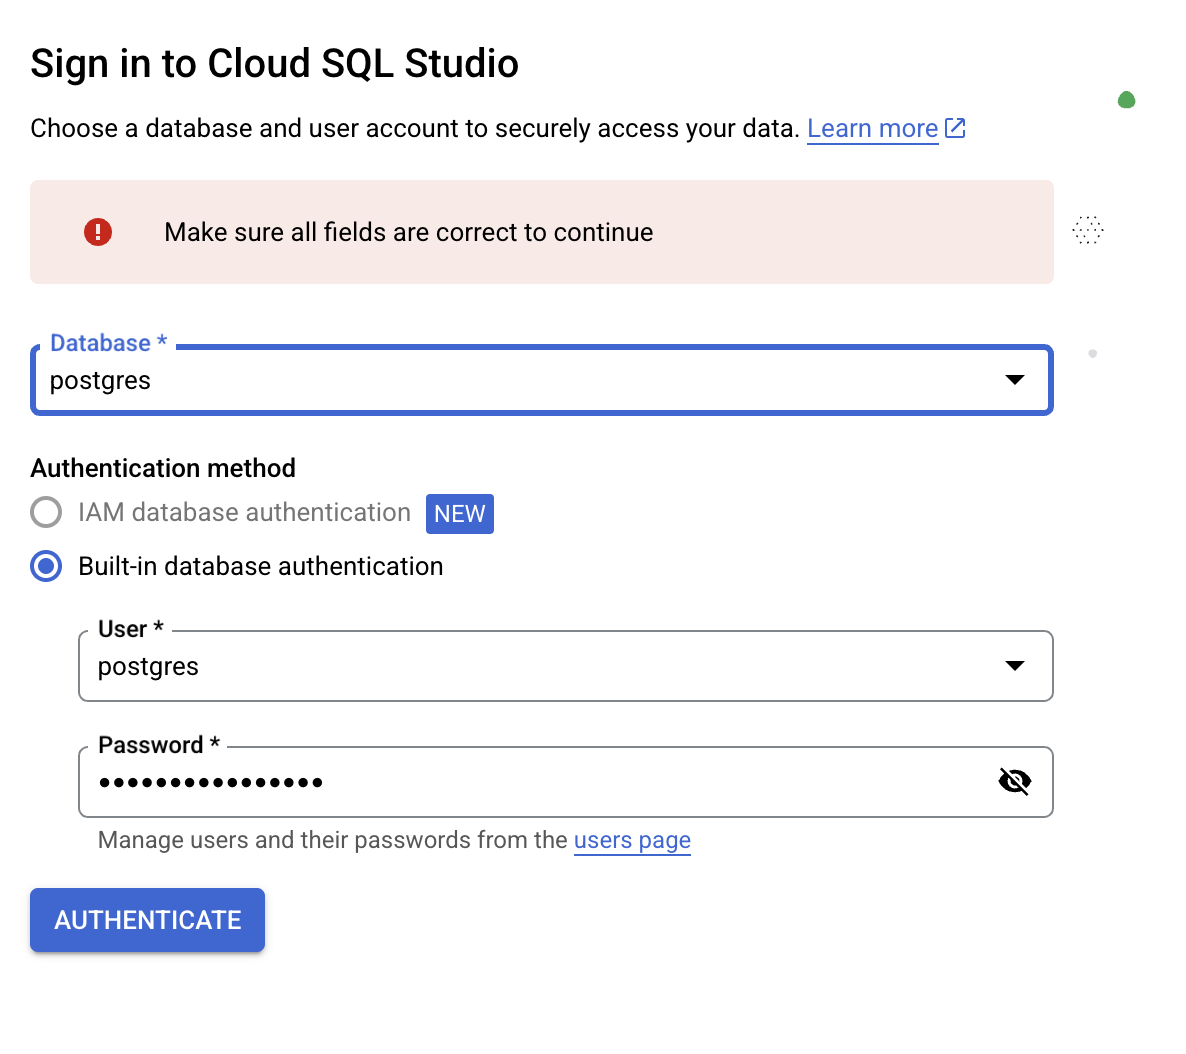
2. Connect to the **postgres** database with the username **postgres** and the password you've chosen when you created the database.
3. Create the database and user for the Aidbox.\
\
Run the following statements one by one in Cloud SQL Studio Editor
```sql
-- 1. Create the user (and a role) for Aidbox
CREATE USER aidbox WITH PASSWORD '';
-- 2. Grant the role aidbox to postgres, because postgres is not a superuser
-- in Google Cloud SQL.
-- It's required to execute the following ALTER DATABASE statement
GRANT aidbox TO postgres;
-- 3. Create the database for Aidbox owned by the aidbox user
CREATE DATABASE aidbox OWNER aidbox;
```
{% hint style="info" %}
During initialization, Aidbox creates certain database extensions. You can find more details [here](../../database/postgresql-extensions.md). If you prefer not to grant the Aidbox user the permissions required for this, you can pre-create the necessary extensions using a privileged user and disable automatic extension creation via [settings](../../reference/all-settings.md#db.install-pg-extensions). This is the approach we follow in the current tutorial.
{% endhint %}
4. Connect to the database `aidbox` , that you've created using user **postgres**, and create the extensions.
```sql
CREATE EXTENSION pg_stat_statements;
```
```sql
CREATE EXTENSION unaccent;
```
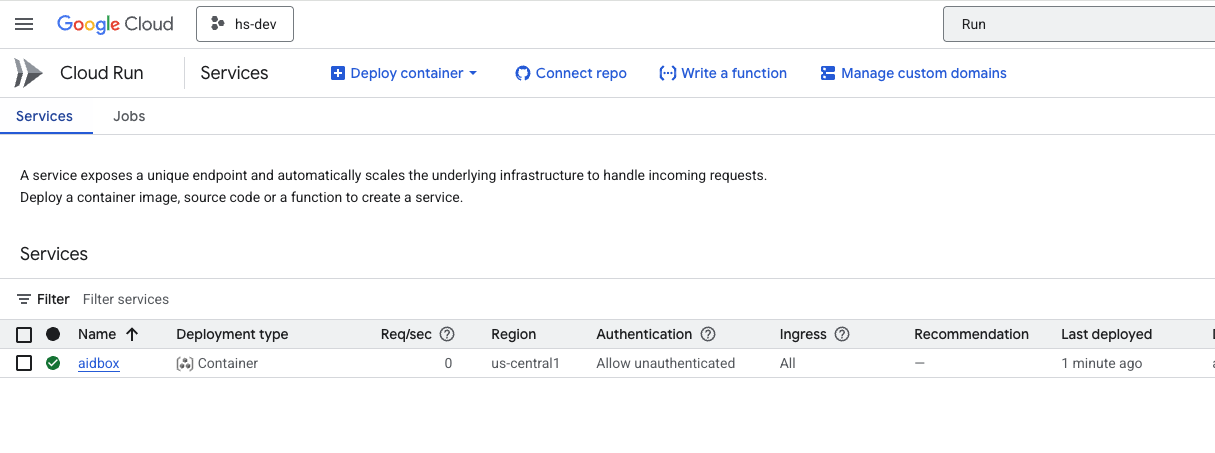
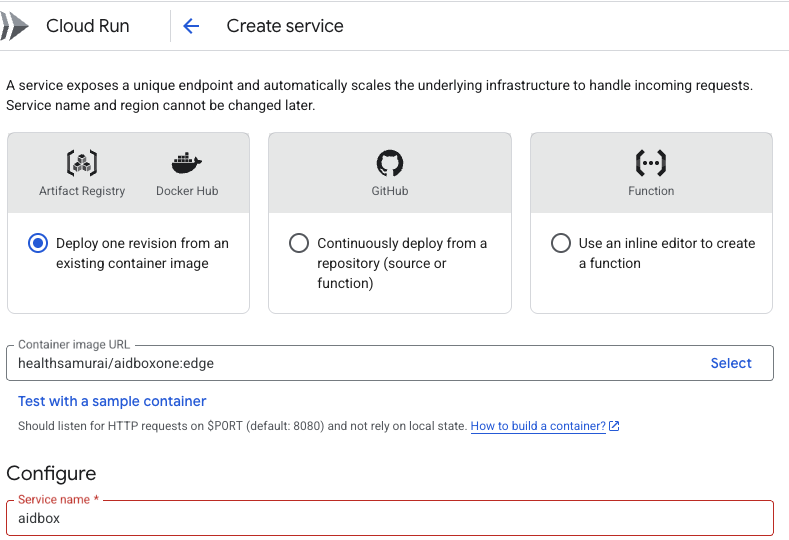
## Create the service for Aidbox in Cloud Run
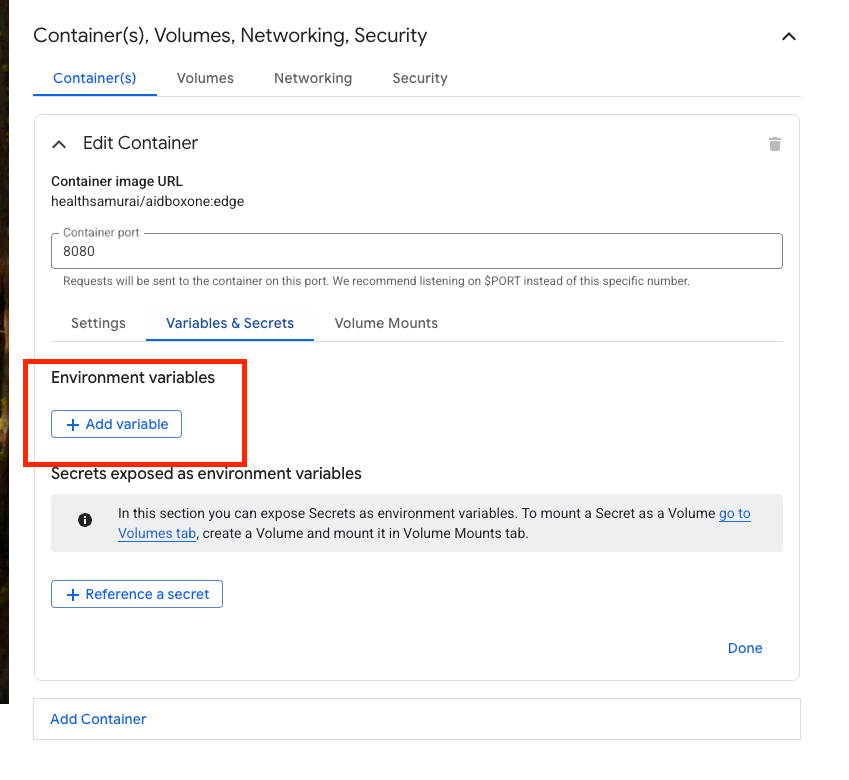
1. Navigate to the **"Cloud Run"** section in the Google Cloud Console and create a new service from the container .
2. Enter `healthsamurai/aidboxone:edge` as a container image URL and add a service name.
3. Disable authentication.
4. Select "**Instance-based**" billing, set Auto scaling to 1 and leave other properties by default.\\
5. Configure Memory and CPU Limits
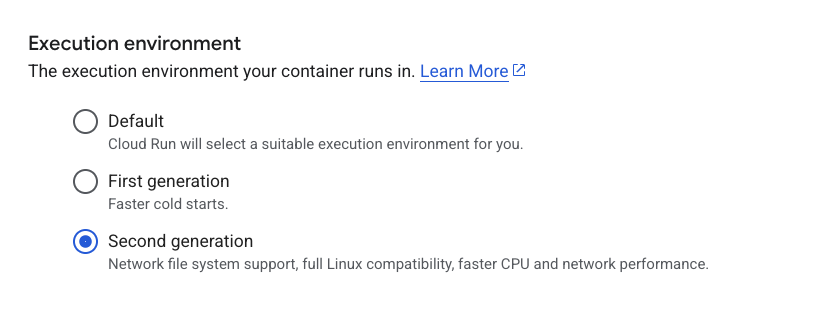
6. Enable **"Second generation"** execution environment for better performance
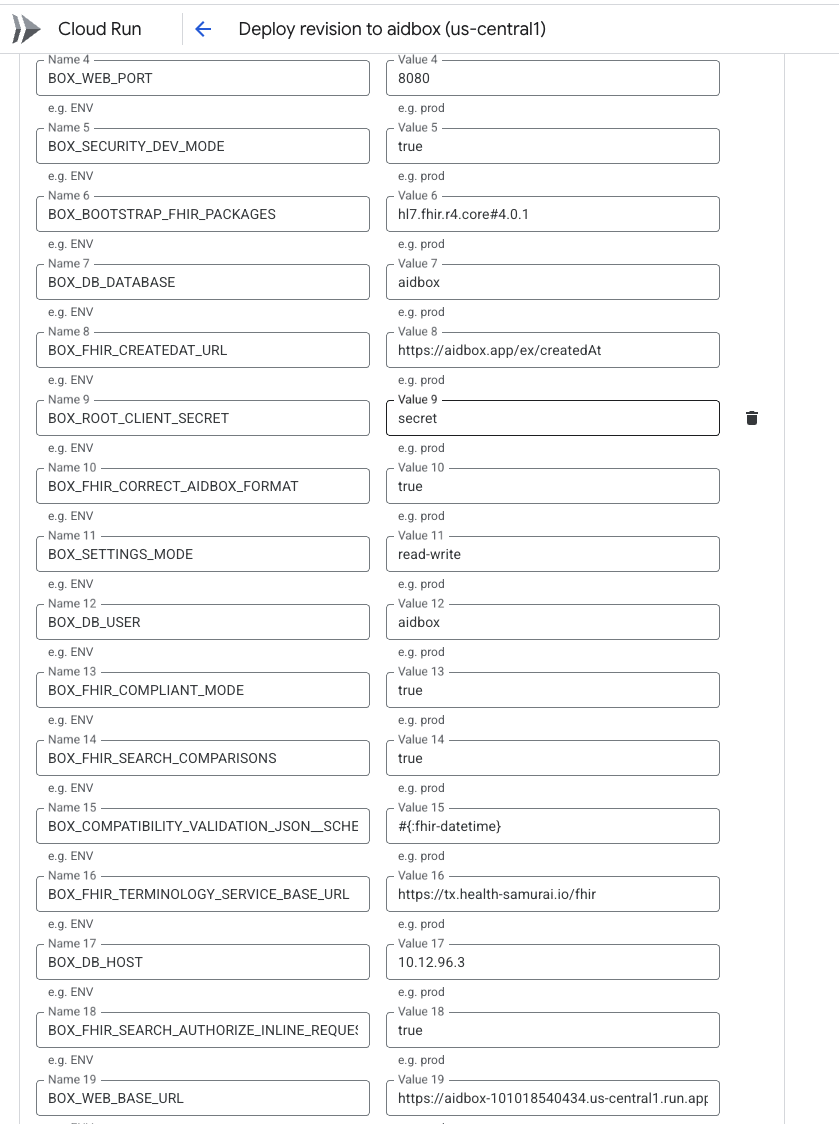
7. In the container properties, add environment variables.
Add the following environment variables:\\
```yaml
- name: BOX_SECURITY_AUDIT_LOG_ENABLED
value: true
- name: BOX_FHIR_SCHEMA_VALIDATION
value: true
- name: BOX_DB_PORT
value: 5432
- name: BOX_WEB_PORT
value: 8080
- name: BOX_SECURITY_DEV_MODE
value: true
- name: BOX_BOOTSTRAP_FHIR_PACKAGES
value: hl7.fhir.r4.core#4.0.1
- name: BOX_DB_DATABASE
value: aidbox
- name: BOX_FHIR_CREATEDAT_URL
value: https://aidbox.app/ex/createdAt
- name: BOX_ROOT_CLIENT_SECRET
value:
- name: BOX_FHIR_CORRECT_AIDBOX_FORMAT
value: true
- name: BOX_SETTINGS_MODE
value: read-write
- name: BOX_DB_USER
value: aidbox
- name: BOX_FHIR_COMPLIANT_MODE
value: true
- name: BOX_FHIR_SEARCH_COMPARISONS
value: true
- name: BOX_COMPATIBILITY_VALIDATION_JSON__SCHEMA_REGEX
value: #{:fhir-datetime}
- name: BOX_FHIR_TERMINOLOGY_SERVICE_BASE_URL
value: https://tx.health-samurai.io/fhir
- name: BOX_DB_HOST
value:
- name: BOX_FHIR_SEARCH_AUTHORIZE_INLINE_REQUESTS
value: true
# See https://cloud.google.com/run/docs/triggering/https-request#deterministic
# for more info about deterministic URLs
- name: BOX_WEB_BASE_URL
value:
- name: BOX_DB_PASSWORD
value:
- name: BOX_ADMIN_PASSWORD
value:
- name: BOX_SEARCH_INCLUDE_CONFORMANT
value: true
- name: BOX_DB_INSTALL_PG_EXTENSIONS
value: false
- name: BOX_DB_MAINTENANCE_DATABASE
value: aidbox
- name: JAVA_OPTS
value: -XX:MaxRAMPercentage=75 -XshowSettings:vm
```
\
See more about recommended Aidbox environment variables [here](../../configuration/configure-aidbox-and-multibox.md).
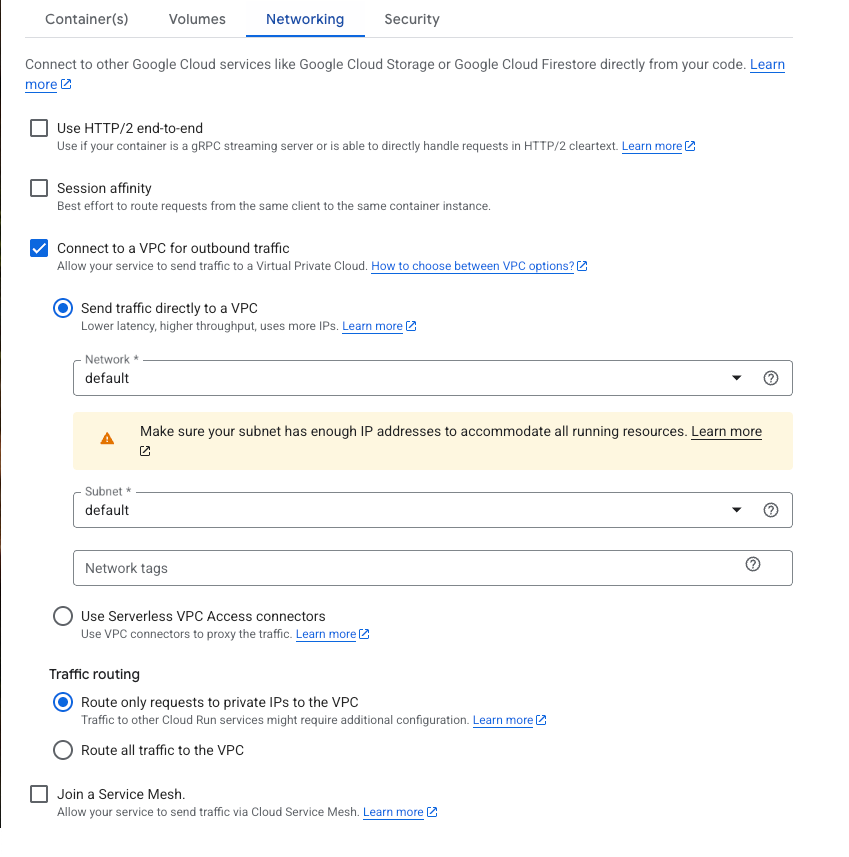
8. At the Networking tab, configure the outbound traffic to go to the **default** subnet.\\
9. Click the "**Create**" button and wait for the service to deploy successfully.
10. Access the service via the URL.
11. [Activate](../../getting-started/run-aidbox-locally.md#id-4.-activate-your-aidbox-instance) the Aidbox instance.
## What's next
See more about different options for running Aidbox:
* [Deploy Aidbox with Helm charts](../../deployment-and-maintenance/deploy-aidbox/run-aidbox-in-kubernetes/deploy-aidbox-with-helm-charts.md)
* [Run Aidbox locally](../../getting-started/run-aidbox-locally.md)


.png)